Silkscreen Printing is a technique I learned back in 1994 at Saint Paul Central High School. I was entering 10th grade when my family moved from southwestern Minnesota to St. Paul that year. The graduation requirements at Central (which we students referred to as CenTRO) were different from those at the school I came from. This difference eventually allowed me to graduate early, but more on that later. I had already taken “Art” and could not take it again for some reason when I was enrolling. I ended up taking a class called “Graphics”. I don’t even know if I read the description of the class, I think I just thought that it was close enough to “Art” and was better than not taking art. This class was of course about screen printing. That year I learned the basics of the technique and have been able to create posters and t-shirts ever since. We learned how to hand paint designs on the screen with drawing fluid and screen filler. If you wanted to more complex designs you cut them into rubylith film with an x-acto and photo exposed the screens on a light table. Imagine being required to bring your own knife to school in today’s security obsessed school climate. I believe they installed metal detectors the year after I graduated. 1994 was of course a year when desktop publishing was only just becoming accessible to public schools. That class eventually got PowerPCs (remember those?) with Adobe Illustrator (version 5 I think) but you still had to print onto regular paper and then hand cut the designs out of the rubylith. I suspect that laser blackout film was available to the commercial screen printing industry at the time, but our teacher felt like making us work harder than that. These skills would later come in handy when I got into adhesive vinyl as an art medium in the late 90s, but more on that later. Honestly I wonder how I retained any of this information since I spent most of the time talking about my favorite band Big Black with the kid next to me. That class and Ron Rogaczewski’s video class changed my life. Thank you Centro for truly making a lasting positive contribution to my life.
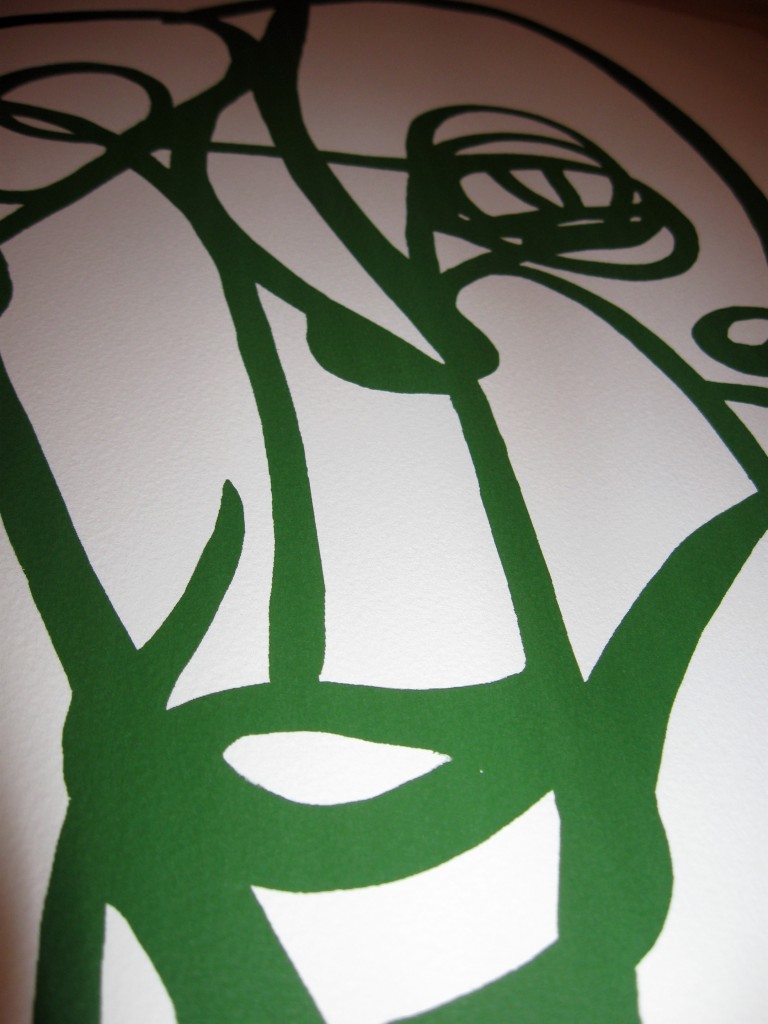
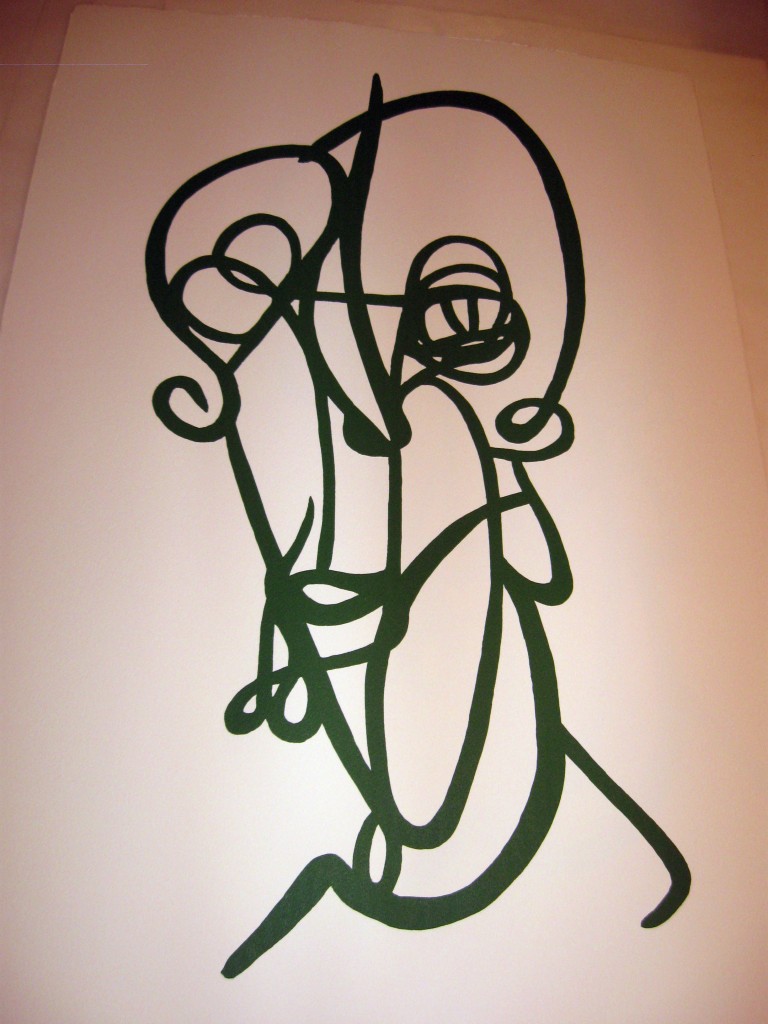
I posted a notice to Facebook about 2 weeks ago asking if anyone would be interested in some silkscreen prints of one of my older paintings, Number 24 from 2006. I got a good response so I ordered supplies and made some prints, just in time for the holidays. Not having a good setup for photo exposure I decided to go seriously low-tech and hand paint the screens with drawing fluid and screen filler. I felt this was appropriate since it recreates the painting process.
I feel at this time I should probably point out that I dislike the idea of digital prints. I dislike how they are all perfectly identical and they use 4 color process to approximate actual colors. Part of the enjoyment i receive from owning art is being able to look at it and know that the artist touched every inch of the canvas. This object was made by someone. I feel that in this day and age when jpgs or vector art can be transmitted around the world and printed by anyone that there is a greater significance to the experience of seeing an object that cannot be fully reproduced in such a manner. That is why I used large paper and one of my favorite pigments Chromium Oxide Green. This color can be simulated by the 4 color process but it will never look like the actual pigment. This color is a rock that has been ground up and made into paint. I like that.
I decided to make the prints at home because my studio does not have an adequate sink for rinsing the screens. So extra special thanks to my wife Cassie for understanding that I needed to commandeer the shower for the sake of art. Anyways for those of you are interested here is the process.
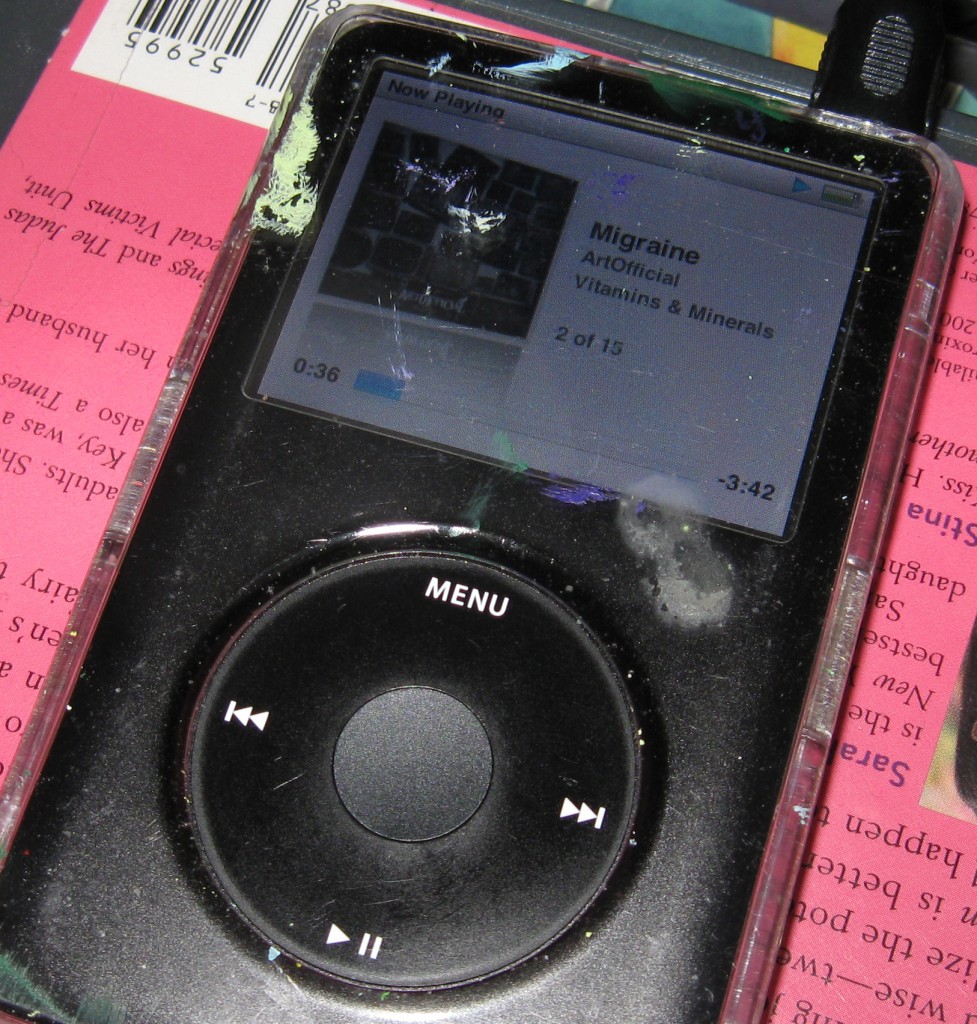
Step one, make sure you have good music:
I was blasting Vitamins and Minerals by Artofficial, who are good friends of mine and also a great band. Check them out here.
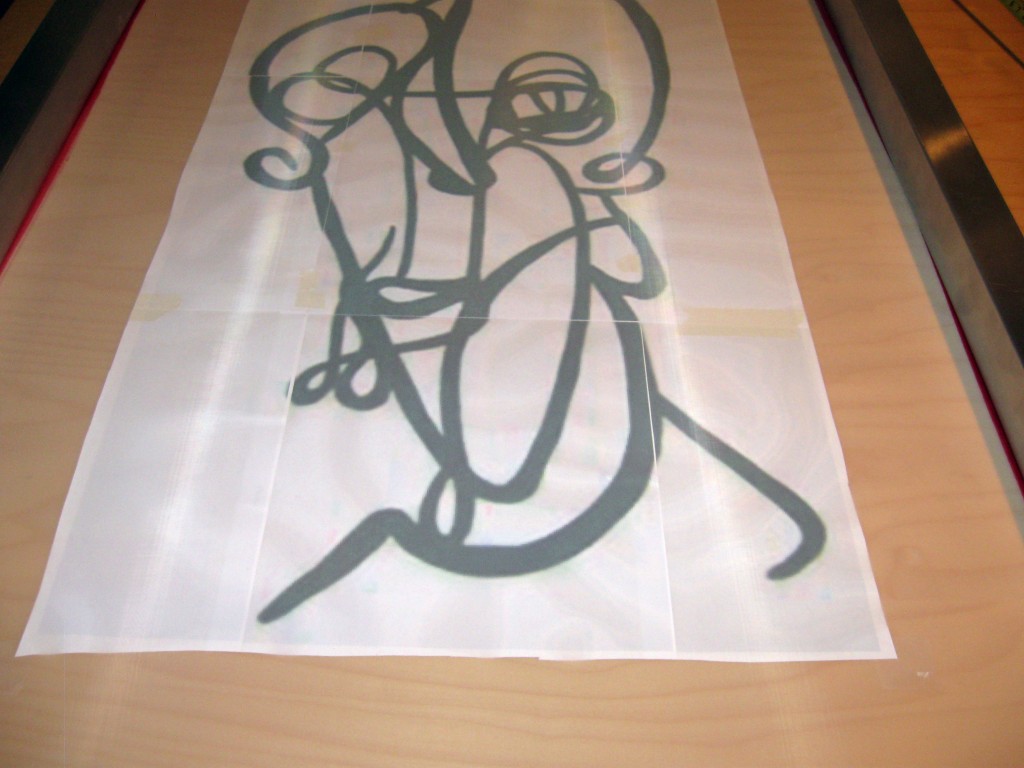
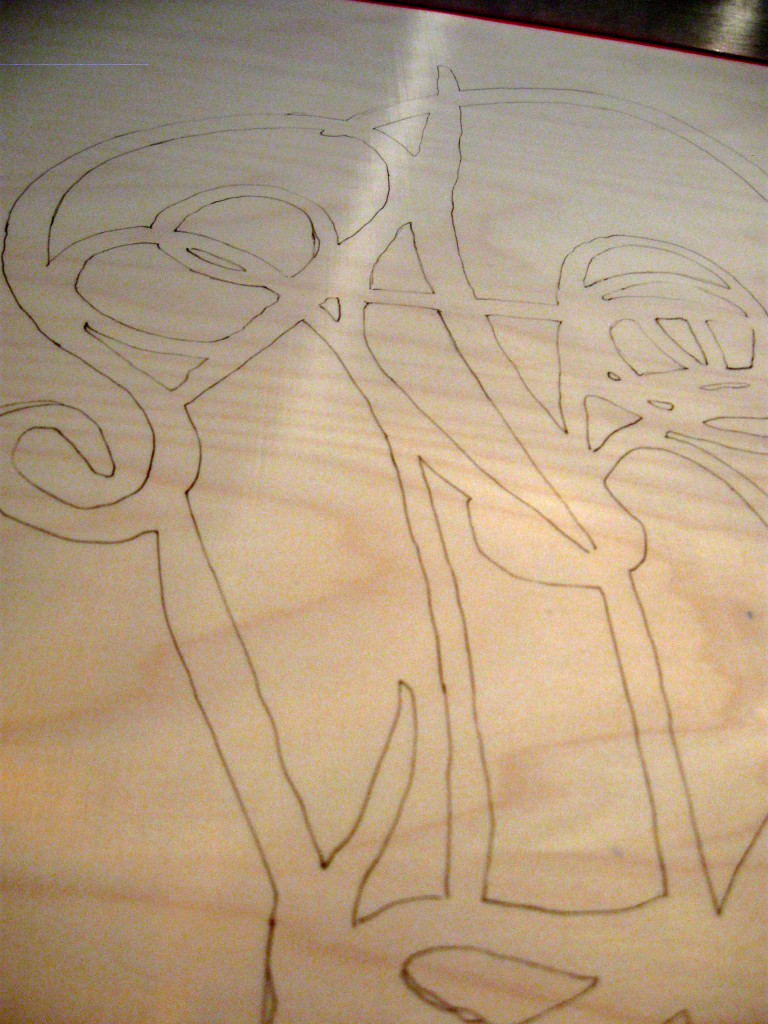
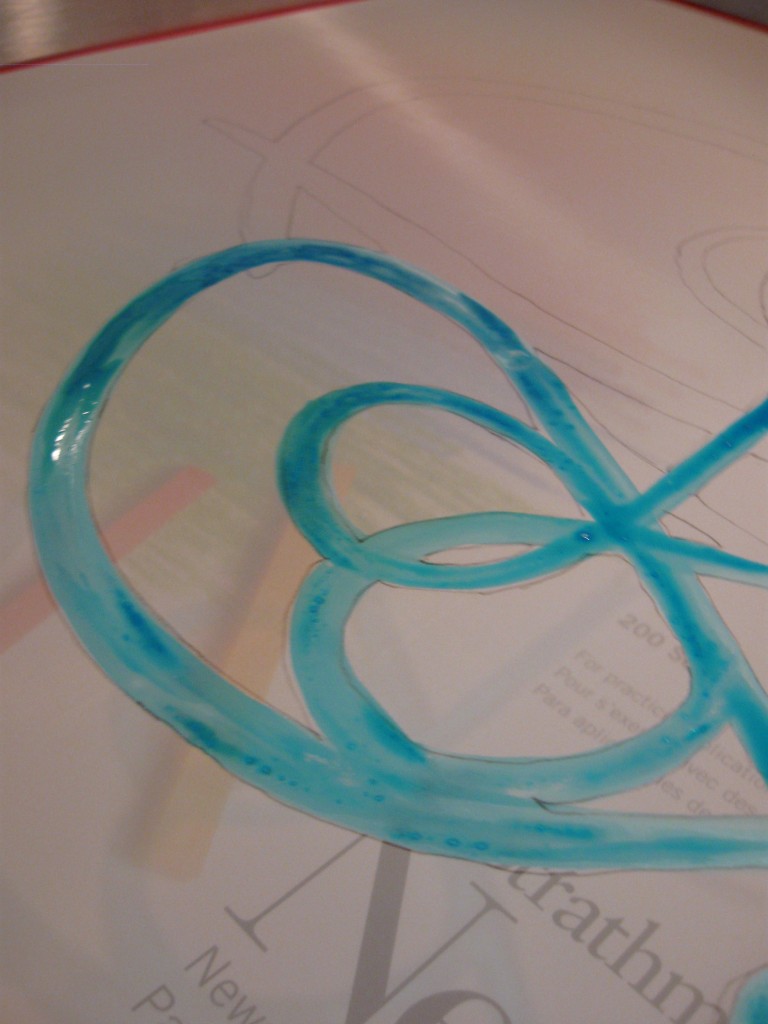
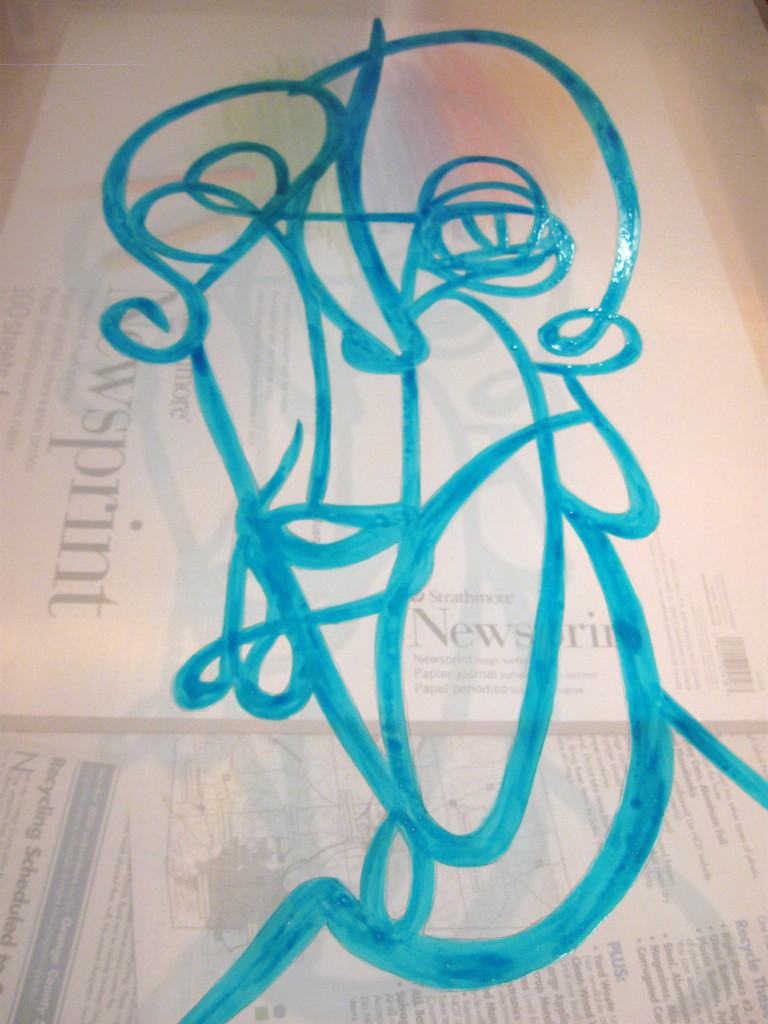
The next step was to enlarge and print out the design and trace it onto the screen:
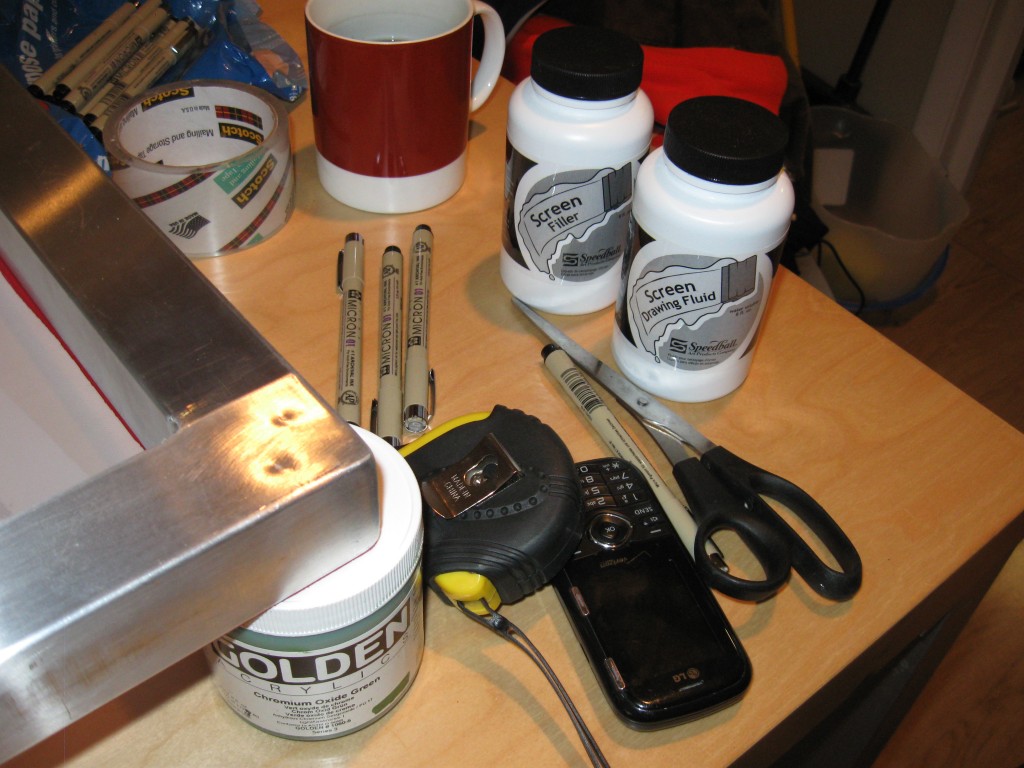
Here are the materials I used:
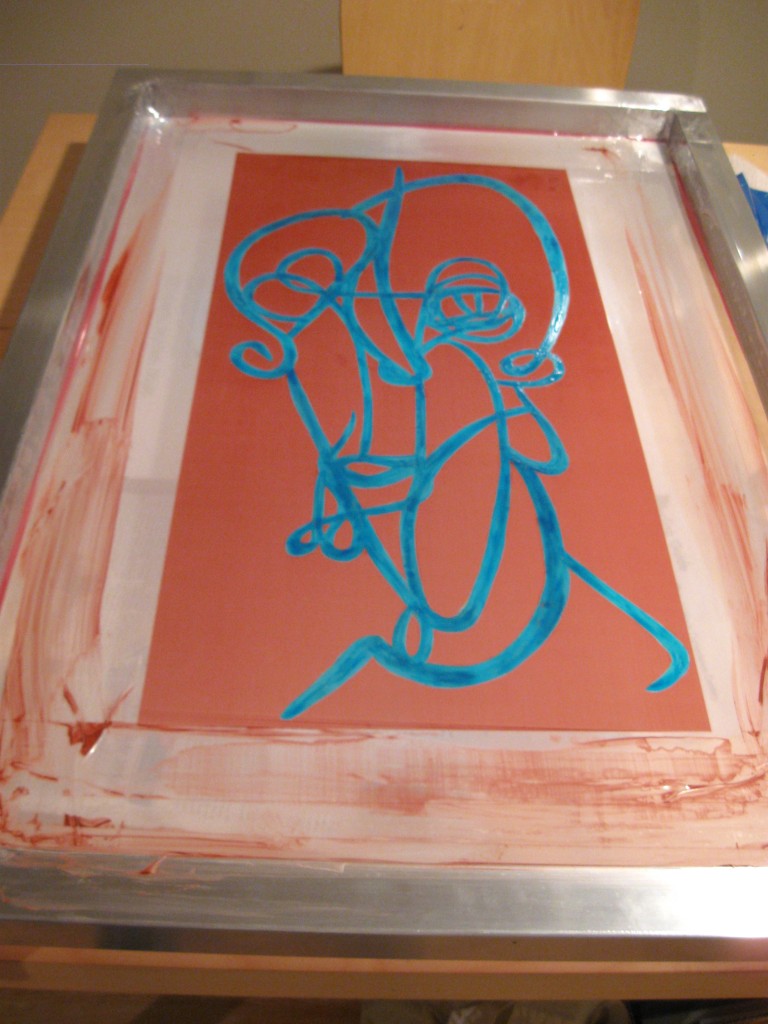
Now time to coat the screen in screen filler. This will create the mask. The areas with the blue drawing fluid will wash out but the red filler will remain.
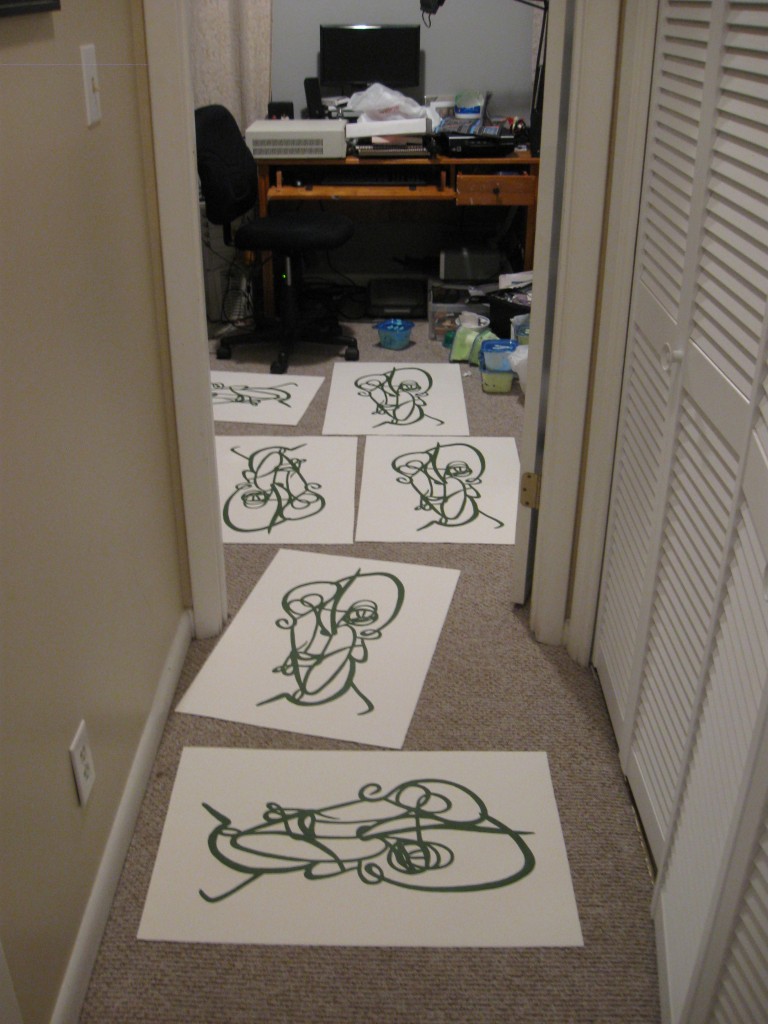
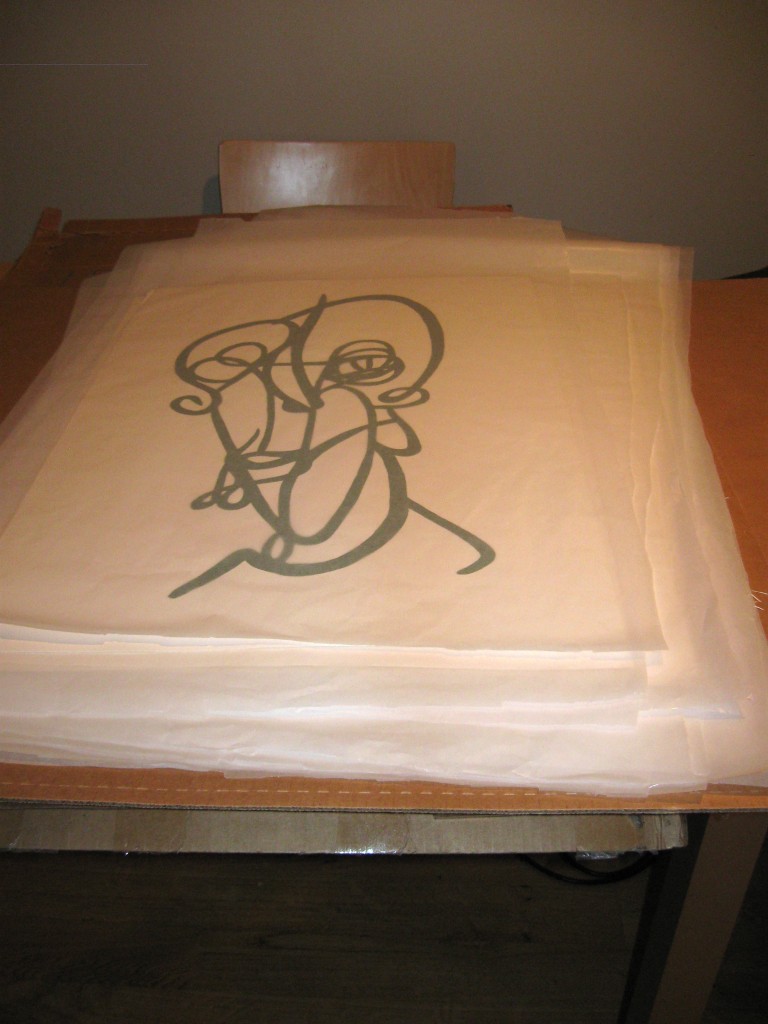
After washing out the screen and drying (sorry no pictures) it was time to print. I don’t have any photos of this because screen printing is a two handed activity and I couldn’t figure out the timer on my camera. Anyways, you push the ink through the screen with a squeegee. I used Golden screen print medium and Golden Heavy Body acrylic paint (Chromium Oxide Green) in a 1:1 mixture. The paint will print well by itself but the screen printing medium keeps it from drying in the screen. This ratio kept it wet long enough for the full run of 25 prints. Now that I was printing there is the problem of where to dry these prints…
So the print run is done. If any of you want one I have a few left, You can order them here. These are all one of a kind, because of the printing process each will have small differences in the line. They do all look like the original though. The final print run size is 23 plus an Artists Proof. I had a small leakage issue on one of the pulls so one print had to be scrapped. Each is signed and numbered by me with the date written on the back. I trimmed the paper so the full size is 20″x30″ and it will fit in a standard poster frame of this size. If people respond well to these I will probably print a few more of the single color “classic” designs in the future. Feel free to let me know which ones you would want.
